A) Remove the adhesive tape and other packaging materials. Remove all plastic wrap and stickers. Package content may vary by country or region.
B) Take the printer out of the box.
C) Remove all protective material from the printer.
D) Lift the scanner unit and remove all protective material from inside the product.
E) Lower the scanner unit.
F) Check that the transport lock is in the print position or ink will not be delivered and you may have print quality problems.
G) Remove the shipping caps from each ink tank and place them on the inner side of the ink tank unit.
It is recommended to wear disposable gloves and place a sheet of paper under the ink tank unit when filling the tanks as ink may splatter
Immediately wipe up any spills with a damp towel to prevent permanent staining.
A) Open the cover of the ink tank unit, then remove the cap from the black ink tank and place it in the corresponding holder.
B) Unpack the bottle of black ink.
C) Depending on the type of ink bottles included with your printer, either pop the cap off the bottle cap or unscrew the cap.
D) Remove the lid. Remove the protective seal carefully (without touching the ink below the seal), then screw the bottle cap on tightly.
Be sure to screw the bottle cap on tightly or the ink may spill out.
E) Fill the tank using all the ink in the bottle.
F) Carefully seal the bottle using the other side of the cap plug or screw on the cap for proper disposal.
G) Put the cap of the ink tank firmly.
H) Repeat the previous steps for the other bottles.
I) Close the cover of the ink tank unit.
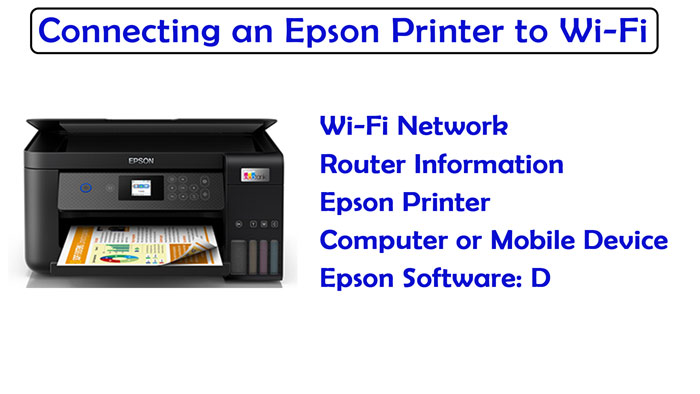
Connect EPSON L220 printer
A) Plug the power cord into the back of the product and into a power outlet.
B) Raise the control panel and turn on the printer, then follow steps C), D) and E) to continue charging the ink.
C) Select your language and then press the OK button.
D) Press the OK button for 3 seconds when the message appears on the LCD screen telling you to consult the configuration manual. Press the button to start charging the ink. Ink charging takes approximately 20 minutes. The process ends when the power indicator stops blinking.
Do not turn off the printer or load paper while the product is charging or it will waste ink
Configure paper in EPSON L220 printer
A) Check that ink charging is finished. Then, rotate the feeder guard forward, raise the paper support, and tilt it back slightly.
B) Slide the edge guide to the left.
C) Place the paper against the right side of the rear paper feed in the upright position, printable side up.
D) Slide the edge guide against the paper, not too tight, then flip the feeder guard back.
D) Extend the output tray and raise the sheet stop.
E) Select paper settings on the printer’s control panel.
Install driver | driver EPSON L220
To install the EPSON L220 printer driver, the hardware must be configured first. You will have to wait until the installation software tells you to. It is for that reason that you should not connect the USB cable yet.
A) Locate the installation CD included in the printer box.
B) Insert the installation disc into the CD/DVD drive; Open Windows Explorer (“My Computer“, “My Computer” or “My Computer“) and run the installation program.
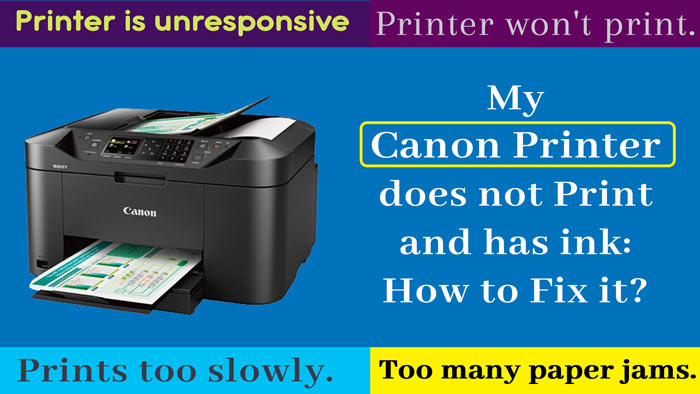
What to do when the Epson L220 printer does not print?
If your EPSON L220 printer is not printing, follow these steps to fix it:
Turn off both the printer and the computer.
Disconnect the printer’s power cord and USB cable.
Check that there is no paper jammed in the input or output tray.
Wait 3 minutes and then reconnect everything.
Turn on the computer.
Press the Power button for 15 seconds on the printer.
Finally press the Maintenance button on the printer for 5 seconds.
Print a test page to verify that the problem has been resolved.
If the problem persists try cleaning the print heads and then repeat the process.
How to clean the print heads from the computer?
To clean the print heads of the EPSON L220 from the computer, follow these instructions:
1. Load paper in the input tray.
2. Depending on the operating system you must:
Using Windows: Right-click on your printer’s icon on the desktop or taskbar.
Using MAC: From the Apple menu or in the Dock, choose System Preferences > Print & Fax, Print & Scan, or Printers & Scanners; then select your printer and click Options & Supplies. Select the option: Utility > Open Printer Utility.
3. Select the Head Cleaning option as shown here
4. Click Start to Start the cleaning cycle. The power button will blink while this command is running and until it finishes. DO NOT TURN OFF THE PRINTER while the command is running.
5. When the cleaning cycle is finished, click Print Nozzle Check Pattern > Print; to check that the injectors are clean.
6. Check the pattern printed on the sheet to verify that the cleaning was successful.
7. If the heads are already clean, click Finish. If the print heads are still dirty, start the cleaning cycle again.

